
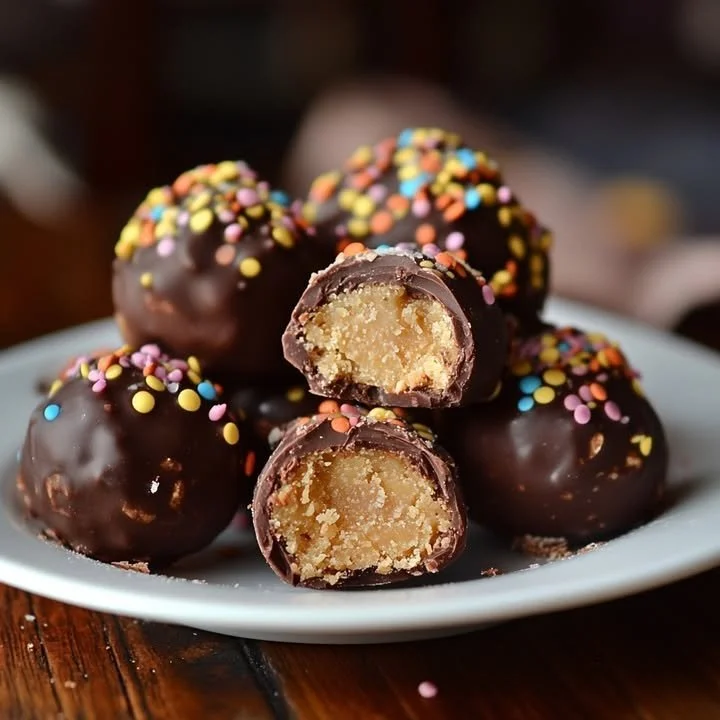
Butterfinger Balls are an indulgent, no-bake treat that brings together the delightful crunch of Butterfinger candy with the creamy goodness of peanut butter. These bite-sized balls are more than just a dessert; they evoke a sense of nostalgia, reminiscent of childhood snacks shared with family and friends. The sweetness of the chocolate coating paired with the rich, nutty filling creates a comforting flavor that’s hard to resist. Perfect for parties, potlucks, or a cozy night in, this recipe is easy to follow through a simple step-by-step approach, making it an appealing choice for both novice and seasoned bakers.
Ingredients
Gathering the right ingredients is the first step in creating these delightful Butterfinger Balls. Here’s what you’ll need:
- 1 cup creamy peanut butter: The creamy texture offers a luscious base, bringing all the other flavors together with its rich and nutty notes.
- 1 cup crushed Butterfinger bars: The candy bars add a crispy texture and a burst of caramel sweetness, perfectly complementing the peanut butter.
- 1/2 cup graham cracker crumbs: These crumbs provide structure and a subtle crunch, enhancing the overall texture.
- 1 1/2 cups powdered sugar: This ingredient sweetens the mix and helps bind it together, creating a delightful sweetness.
- 1 tsp vanilla extract (optional): A touch of vanilla enhances the flavor, adding warmth to each bite.
- 1 1/2 cups melted chocolate (milk or semi-sweet): The chocolate coating wraps each ball in a rich sweet layer, elevating the treat.
- Extra crushed Butterfinger for topping (optional): For those who can’t get enough of the Butterfinger crunch, this adds a delightful finishing touch.
Step-by-Step Directions
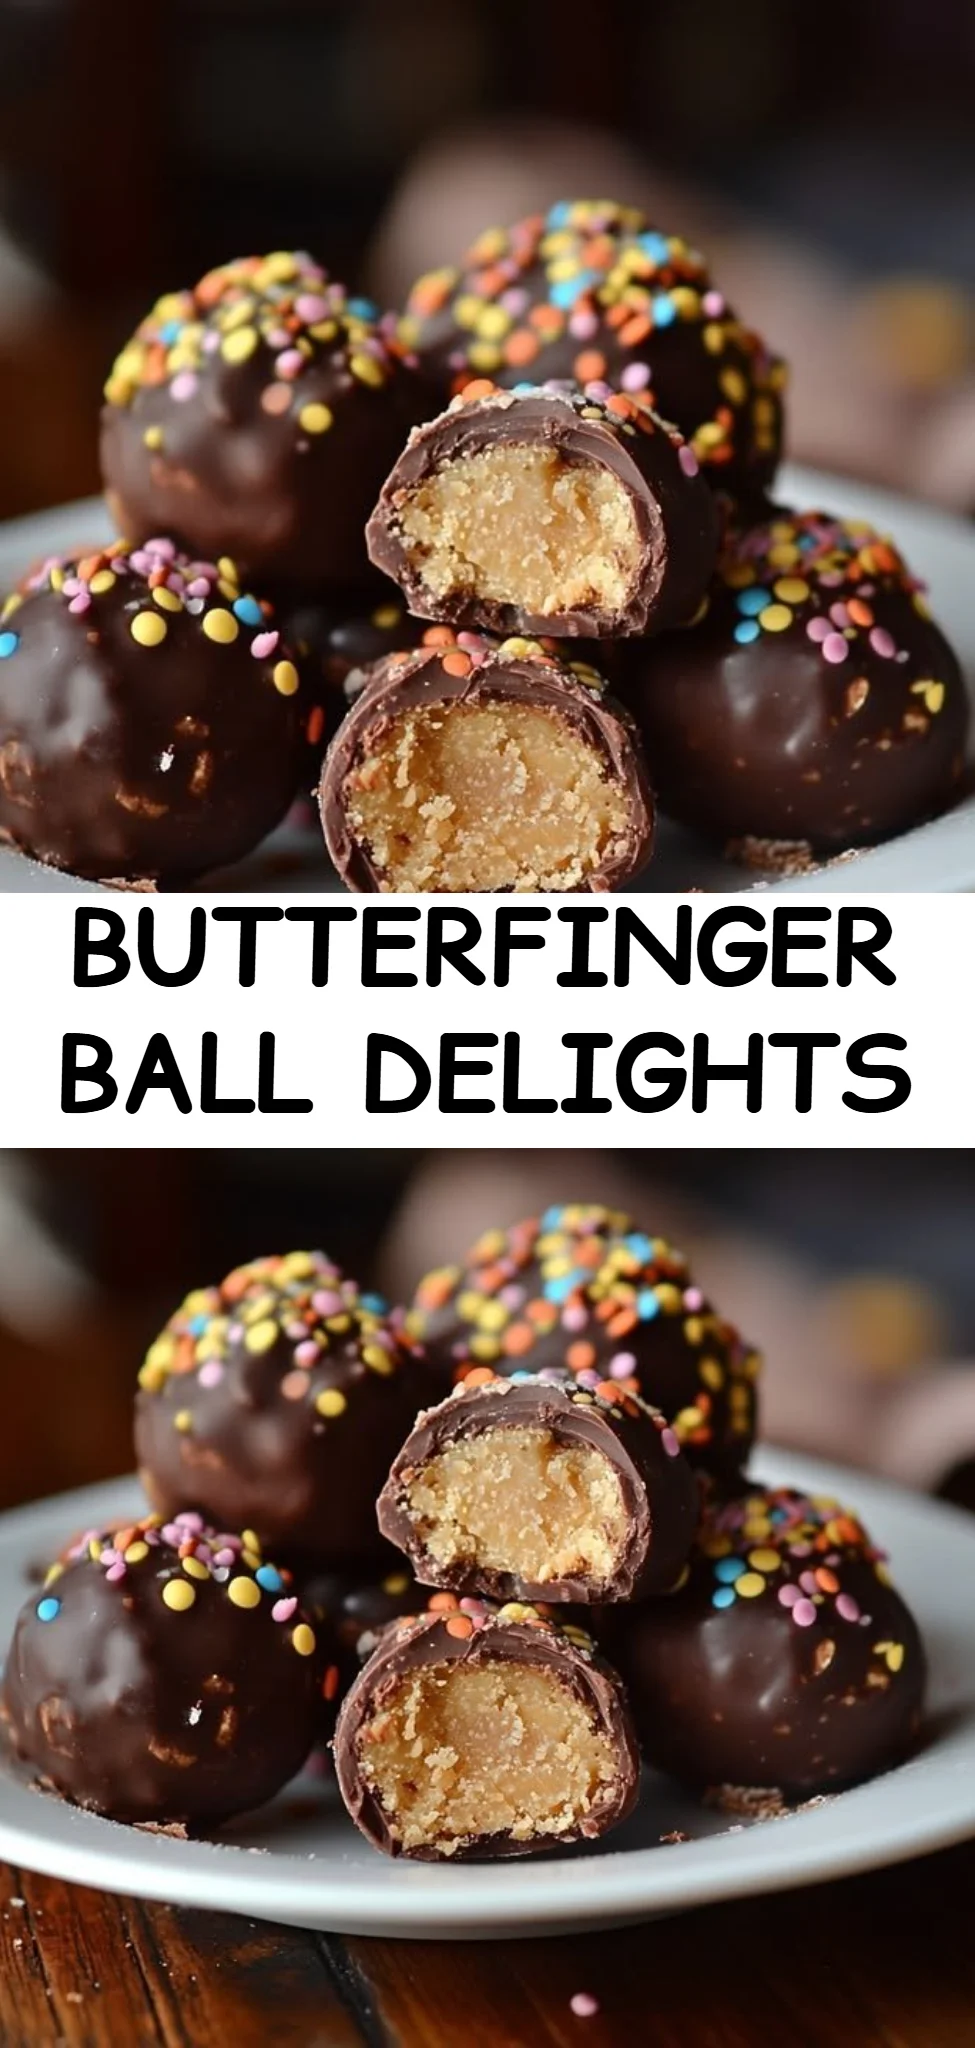
Making Butterfinger Balls is as straightforward as it is rewarding. Follow these simple steps to create your own batch of sweets:
Crush the Butterfingers: Start by placing the Butterfinger bars in a zip-top bag. Using a rolling pin or a heavy saucepan, crush them into small pieces. Aim for a mix of fine crumbs and larger bits for texture.
Mix the Filling: In a large mixing bowl, combine the creamy peanut butter, crushed Butterfinger, graham cracker crumbs, powdered sugar, and vanilla extract (if using). Use a spatula or your hands to mix everything until well combined. The mixture should be thick and slightly sticky.
Shape the Balls: Scoop out about 1 tablespoon of the mixture and roll it into small balls using your palms. Place these on a parchment-lined tray. Once formed, pop the tray in the freezer for 15-20 minutes. This step helps firm up the balls, making them easier to coat.
Coat in Chocolate: While the balls are chilling, melt your chocolate in a microwave-safe bowl or over a double boiler. Carefully dip each ball into the melted chocolate, ensuring they are fully coated. Allow any excess chocolate to drip off before placing them back on the parchment-lined tray.
Optional Topping: If you want to enhance the presentation and flavor, sprinkle extra crushed Butterfinger on top of the chocolate coating while it’s still wet. This step adds an extra layer of crunch and visual appeal.
Chill: Once all the balls are coated, place them back in the refrigerator for about 20 minutes, allowing the chocolate to set completely.
Serve & Enjoy: Your Butterfinger Balls are now ready to be enjoyed! They make perfect snacks or desserts for any occasion.
Tips & Tricks
For a little extra flair, consider the following tips:
- Instead of melting chocolate, try using white chocolate for a sweeter twist. You can even tint it with food coloring for special occasions.
- Ensure the peanut butter is room temperature for easier mixing. If it’s too cold, it may be hard to combine with other ingredients.
- Feel free to experiment with add-ins like crushed nuts or a pinch of sea salt to enhance the flavor.
Serving Suggestions & Pairings
Butterfinger Balls are quite versatile when it comes to serving options. These treats are perfect for birthday parties, holiday gatherings, or as a sweet addition to a dessert table. Pair them with a cold glass of milk or a hot cup of coffee to balance the sweetness. They also make great gifts when packaged in decorative boxes or cellophane bags.
Nutritional Information
While Butterfinger Balls are a delicious treat, it’s essential to enjoy them in moderation. Here’s a basic breakdown of the nutritional information per ball (based on a batch of 24):
- Calories: Approximately 120-150
- Total Fat: 7g
- Saturated Fat: 3g
- Carbohydrates: 14g
- Sugar: 10g
- Protein: 3g
These figures can vary based on the specific ingredients used—especially the type of chocolate and peanut butter.
Storing Tips & Variations
To keep your Butterfinger Balls fresh and tasty:
- Storing: They can be stored in an airtight container in the refrigerator for up to a week. For long-term storage, consider freezing them in a single layer before transferring them to a freezer-safe bag. They can last up to three months in the freezer.
- Reheating: There’s no need to reheat these treats; simply enjoy them cold or at room temperature.
- Variations: Mix it up with your favorite candy bars, like Snickers or Twix, to create your own unique versions. You can also substitute almond or cashew butter for a different flavor twist.
Conclusion
Butterfinger Balls are a delightful and easy-to-make treat that is sure to be a hit with friends and family. Their combination of flavors and textures makes them a perfect snack for any occasion. Why not give this recipe a try today? Whether you’re reminiscing about childhood or simply looking for a sweet treat, Butterfinger Balls are a timeless choice. Don’t forget to share your experience and variations with us!
FAQs
Can I use crunchy peanut butter instead of creamy?
Yes! Crunchy peanut butter will add a delightful texture, but keep in mind that it may slightly alter the smooth consistency of the filling.How can I make these gluten-free?
Simply substitute the graham cracker crumbs with a gluten-free alternative or use crushed gluten-free cookies.What can I substitute for chocolate if I want to avoid it?
You can dip them in yogurt coating or even leave them plain—though the chocolate adds a fantastic touch!Are these safe for kids to make?
Yes! This recipe is simple enough for children to help out with. Just make sure to supervise them when melting the chocolate.Can I add protein powder to these for an extra boost?
Absolutely! Just be mindful of the added volume, and adjust the powdered sugar accordingly to maintain the right sweetness balance.
Butterfinger Balls
Ingredients
For the Filling
- 1 cup creamy peanut butter Ensure it's room temperature for easier mixing.
- 1 cup crushed Butterfinger bars Provides the key flavor and texture.
- 1/2 cup graham cracker crumbs Enhances the texture.
- 1 1/2 cups powdered sugar Sweetens and binds the mixture.
- 1 tsp vanilla extract Optional; adds warmth to flavor.
For the Coating
- 1 1/2 cups melted chocolate (milk or semi-sweet) Wraps the balls in a sweet layer.
- to taste optional extra crushed Butterfinger for topping Adds a delightful finishing touch.
Instructions
Preparation
- Crush the Butterfingers: Place the Butterfinger bars in a zip-top bag and crush them into small pieces using a rolling pin or heavy saucepan.
- Mix the Filling: In a large bowl, combine creamy peanut butter, crushed Butterfinger, graham cracker crumbs, powdered sugar, and vanilla extract. Mix until well combined and thick.
- Shape the Balls: Scoop about 1 tablespoon of mixture and roll into balls. Place on a parchment-lined tray and freeze for 15-20 minutes.
- Coat in Chocolate: Melt chocolate and dip each ball fully, allowing excess chocolate to drip off before returning to the tray.
- Optional Topping: Sprinkle extra crushed Butterfinger on top of chocolate coating while still wet.
- Chill: Place coated balls back in the refrigerator for about 20 minutes to set.
- Serve & Enjoy: Your Butterfinger Balls are ready to be enjoyed!


